
Reviewed · SILVER JEWELLERY WORKSHOPS
Bali: Silver Jewelry Making Class in Kuta or Uluwatu
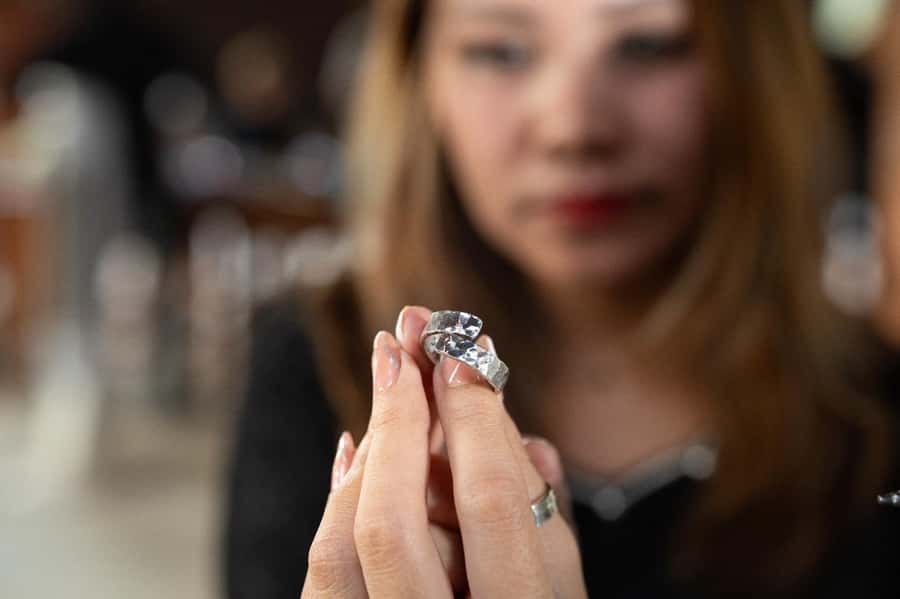
The best part of this Bali activity is that you begin with loose silver and finish with something you can wear. In about three hours, you choose a design, melt the metal, hammer and roll it, then shape, solder, sand, and polish your own piece under a silversmith’s direction. It is a proper hands-on workshop, not a quick souvenir-shop demonstration.
I like the wide choice of designs, which gives beginners a helpful starting point while still leaving room for personal ideas. I also like the patient, step-by-step teaching. Guides including Made and Kusuma have helped participants work through tricky ring shapes, and the process gives you a new respect for the skill behind handmade jewelry.
The main thing to watch is the silver allowance. The class includes up to 5 grams, but you pay IDR 100,000 for each gram above that, and making a second design costs IDR 300,000. You also need to choose the right workshop, since Kuta and Uluwatu are separate locations.
In This Review
- Key points to know before booking
- Starting with a design in Kuta or Uluwatu
- Turning 2 to 5 grams of silver into a wearable piece
- Melting, hammering, and rolling the metal
- Shaping a ring, bracelet, or personal design
- Soldering, sanding, and the final polish
- The teaching makes the difference
- How long the three-hour session really takes
- Who will enjoy this Bali craft class?
- Practical booking advice for Kuta and Uluwatu
- Should you book the Bali silver class?
- FAQ
- How much does the silver jewelry class cost?
- How much silver is included?
- Can I make more than one jewelry design?
- Can I bring my own jewelry design?
- Do I need previous jewelry-making experience?
- Which workshop location should I choose?
- What languages do the instructors speak?
- Can I cancel or pay later?
Key points to know before booking
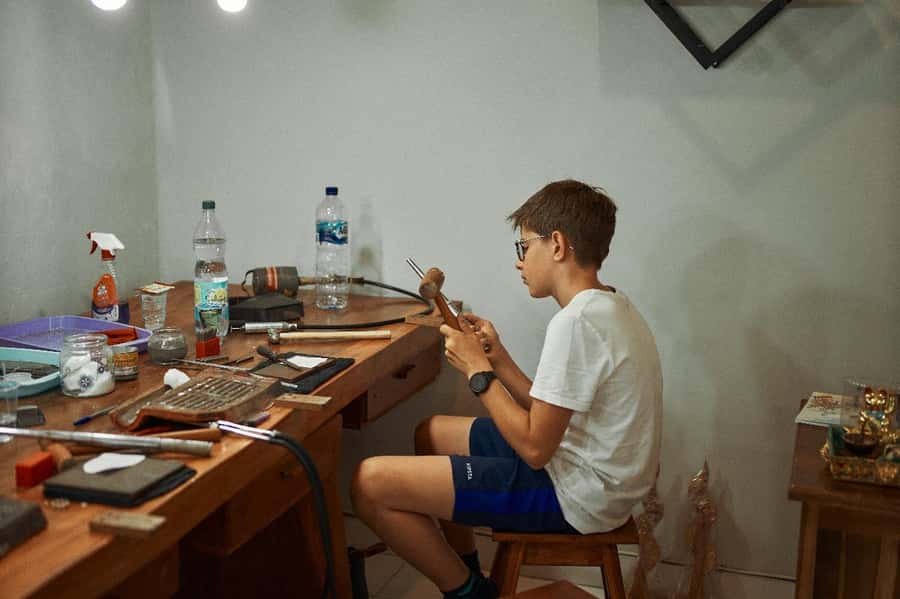
- You make one piece from raw silver: The work includes melting, hammering, rolling, shaping, soldering, sanding, and polishing.
- You can choose Kuta or Uluwatu: Kuta is near Kuta Beach and Legian Beach, while Uluwatu is near Garuda Wisnu Kencana and several southern Bali sights.
- You receive 2 to 5 grams of Indonesian silver: Less than 5 grams is still counted as 5 grams for the class allowance.
- You do not need prior jewelry experience: The silversmiths guide you through each tool and stage.
- You take home the finished piece: Rings are the most common choice, but bracelets and other designs are possible.
- The group can be small: That matters because shaping and soldering are easier when you can ask for help right away.
Starting with a design in Kuta or Uluwatu
The first decision is not about silver. It is about location.
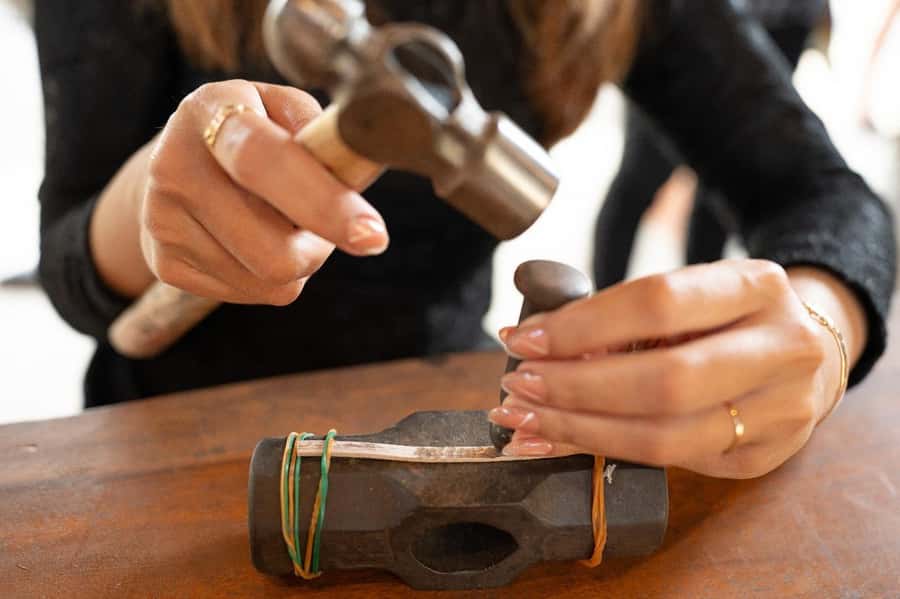
The Kuta workshop works well if you are staying around Kuta, Legian, or the beach side of South Bali. It is close to Kuta Beach and Beachwalk Shopping Center, so you can pair the class with a beach walk, shopping, or an evening meal. The setting is practical rather than remote, which makes it a sensible choice when you want an activity that fits neatly into a busy Bali day.
The Uluwatu workshop is the better match for a southern itinerary. It is near Garuda Wisnu Kencana Culture Park, the Uluwatu Kecak Dance and Sunset performance area, Pandawa Beach, and Melasti Beach. You can place the class alongside those stops, but allow enough time for Bali traffic and confirm the exact meeting point for your booking.
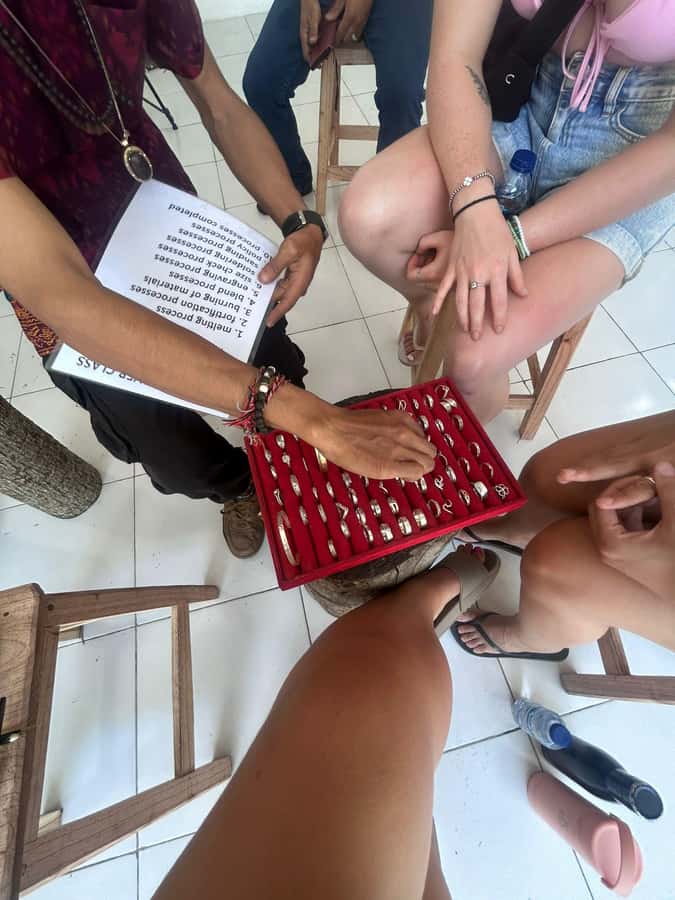
Once you arrive, you look through sample designs. The selection includes different ring patterns and other jewelry styles, so you can copy a reference or use it as a base for your own idea. You may bring a design from home, but discuss it with the silversmith beforehand. A complicated design may not be practical within three hours.
That time limit is useful. It keeps the class focused and gives you a realistic chance of leaving with a finished object. It also means you should not arrive with a plan for an elaborate piece covered in stones or several separate designs.
More Uluwatu clifftop trips:
- Bali: Uluwatu Kecak and Fire Dance Show Entry Ticket
★ 4.2 · 5,189 reviews - Bali: Kecak Fire Dance Show & Uluwatu Temple Entry Ticket
★ 4.2 · 3,023 reviews - Uluwatu: Beginner & Intermediate Surf Lesson with Equipment
★ 4.9 · 832 reviews
Turning 2 to 5 grams of silver into a wearable piece
The class provides high-quality Indonesian silver, usually between 2 and 5 grams. The material may be introduced as pure silver or 925 sterling silver, depending on the work and the design. The instructor explains what you are using before the metal is heated.
The silver allowance has one detail that can catch you out. If your finished piece weighs less than 5 grams, the usage is still accounted for as 5 grams. If it weighs more than 5 grams, the extra charge is IDR 100,000 per gram. Bring cash for any excess, since the activity information specifically advises preparing for additional silver costs.
You also cannot share your silver allowance with another participant. Each person makes one jewelry design, and a second design costs an additional IDR 300,000. These rules are fair enough for a materials-based workshop, but you should know them before choosing a thick ring or a broad bracelet.
The class fee is $41 per person. That includes the silver allowance, instruction, tools, snacks, mineral water, Wi-Fi, and the completed piece. The value depends partly on what you make, but the price compares well with a craft class that gives you both an activity and a personal souvenir. You are paying for guided use of equipment as much as for the metal itself.
Melting, hammering, and rolling the metal
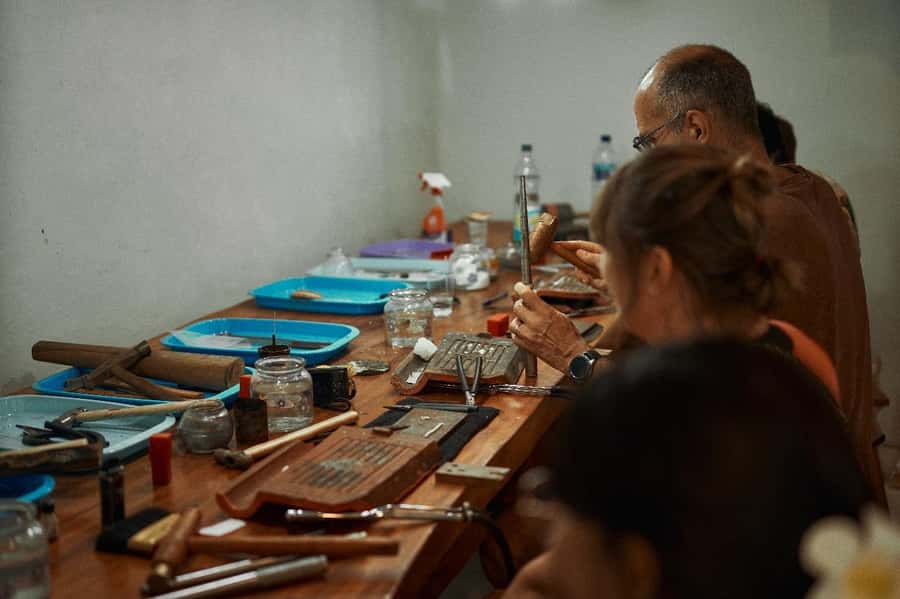
The most memorable stage is the first one. The silversmith melts the silver with a special burner, and the liquid metal is poured into a mold to create a small silver bar. You get to see the material change from loose pieces into something that can be worked.
Next comes hammering. The bar is struck to harden it, making the silver more durable and less likely to break during later work. It is a simple action, but it helps you understand that jewelry making is a chain of small technical steps rather than one dramatic act of shaping.
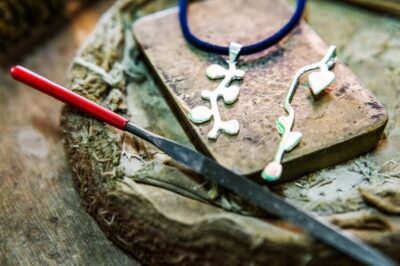
The silver then goes through a rolling tool. Depending on your chosen design, it becomes a thin sheet or wire. This is where the original design starts to make sense. A ring may need a narrow strip, while a bracelet or decorative detail may call for wire.
You take turns with the equipment when working in a group. That can make the class feel social, but it also means you may wait briefly for a tool or for the instructor’s attention. Small groups help keep that wait manageable. Several sessions have had only one or two participants, giving the instructor plenty of time for corrections and suggestions.
Shaping a ring, bracelet, or personal design
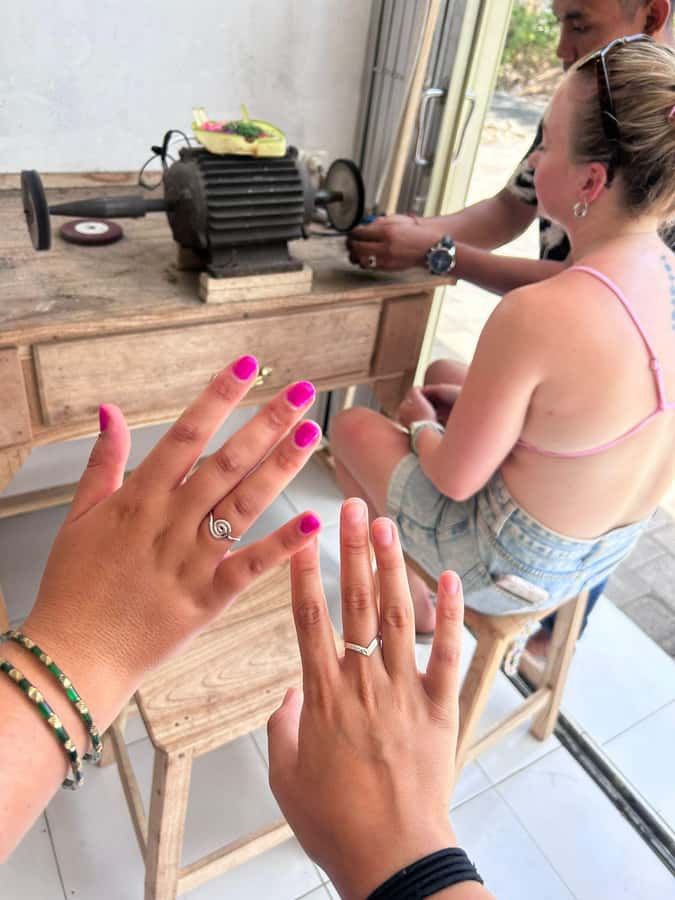
After rolling, you shape the silver. Rings are the most popular finished piece, and they are a good choice for a first class because the form is clear and the result is easy to wear. Matching rings can also make a memorable activity for couples.
Bracelets are possible, too, and the design selection includes more than simple bands. The workshop can help you adjust a personal idea, as long as it can be made within the allotted time. If you want an unusual design, send details ahead of time rather than arriving with a plan that may require extra work.
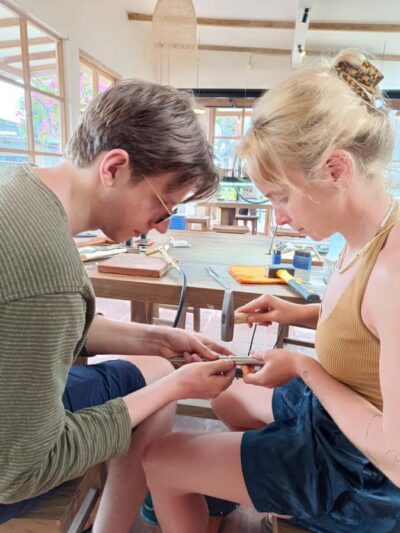
This is the stage where the class feels most creative. You are not simply watching a craftsperson make jewelry. You decide on the pattern, help bend and shape the silver, and see your piece become more recognizable with each step.
The instructor remains important here. Silver can bend too far, edges can become uneven, and a ring must meet cleanly before it is joined. The teaching style described for this class is patient and practical, with corrections made as you work rather than after a mistake has ruined the piece.
That makes the class suitable for beginners. You do not need to know how to use jewelry tools, and you are not expected to produce a perfect object without help. The finished design remains yours, but the silversmith helps make sure it is wearable.
More silver jewellery workshops:
- Bali: Uluwatu Silver Jewelry Making Workshop with Creation
★ 4.9 · 260 reviews - Uluwatu : Make Your Own Silver Jewelry Class
★ 4.8 · 71 reviews - Ubud: Handcrafted Silver Jewelry Workshop
★ 4.3 · 1,214 reviews - Bali: Canggu Jewelry Making Class with Creative Studio Vibes
★ 4.9 · 1,003 reviews
Soldering, sanding, and the final polish
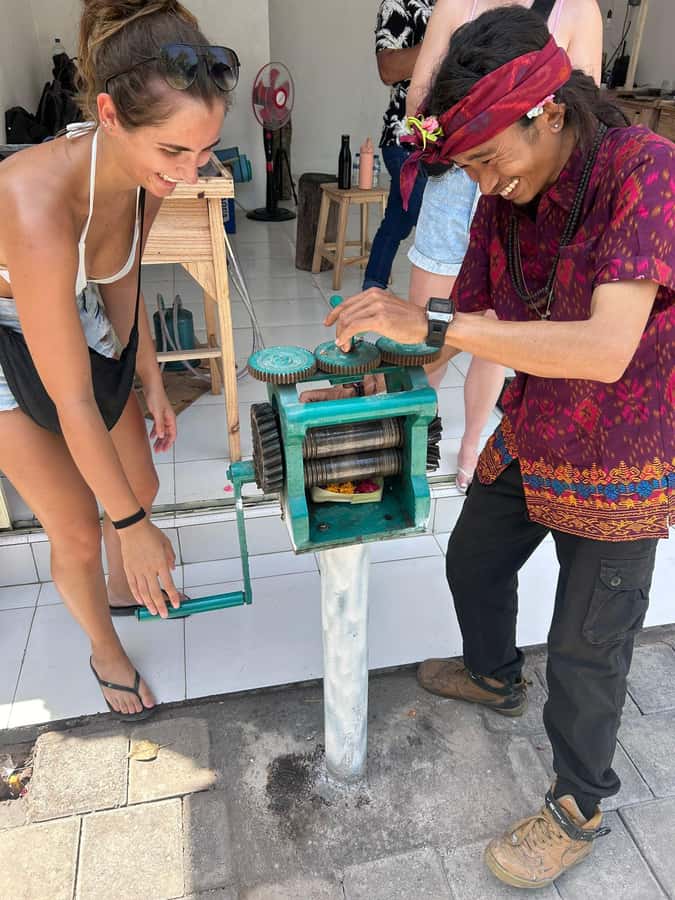
Soldering joins the separate ends or parts of your jewelry. This is one of the more technical stages, so expect close guidance. It is also the point when a flat strip or loose wire becomes a complete ring or connected design.
After soldering, you sand the piece. Sanding removes rough edges and tidies the joins. This step may feel less exciting than melting or hammering, but it makes a major difference to comfort and appearance. A ring with sharp edges is not a finished ring.
Polishing gives the silver its shine. You use a special tool to bring out the smooth, refined finish, and the instructor checks the piece as it nears completion. Some descriptions of the process also include oxidation, which can add contrast to a design.
The result is not factory-perfect in the way a mass-produced piece might be. That is part of the appeal. You can usually see the human work in the shape, texture, or pattern, while the silversmith’s help keeps the piece looking polished enough to wear.
The finished jewelry is yours to take home. Participants have made rings, bracelets, and other small pieces, and some have added engraving. Gemstones and other stones are not included, so ask about the extra charge before deciding to add one.
The teaching makes the difference
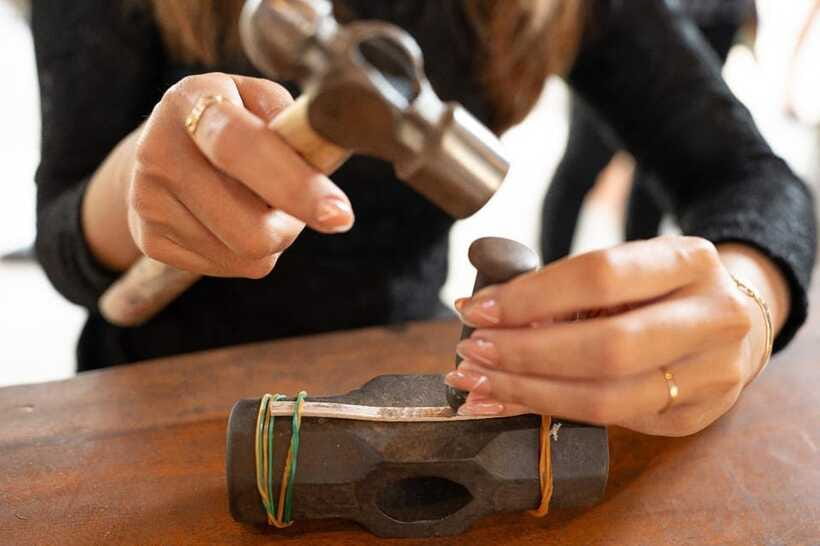
The strongest part of this experience is the instruction. A beginner can easily feel unsure around heat, hammers, rolling tools, and soldering equipment. The guides explain each stage, show you how to use the tools, and step in when a correction is needed.
Made is one guide specifically associated with the Kuta class. His help with ring making, along with a light sense of humor, has made the workshop especially enjoyable for some couples and solo participants. Kusuma has also been praised for hands-on help and even offered a massage during one session, though you should treat that as an occasional extra rather than a promised part of the class.
The instructors speak English, Indonesian, and Malay. That language range helps with technical instructions, especially when you are learning how much pressure to use or where to place a join. Clear communication matters more here than a long lecture.
You should also expect a friendly, informal workshop rather than a formal school. The focus is on making something. You learn through doing, with the silversmith checking your progress and helping you get the result into good shape.
One pleasant extra is that the team may polish or clean an existing silver item for you, as some participants have received this help. It is not listed as the central service, so do not book solely for that, but it is worth asking if you bring another piece.
How long the three-hour session really takes
The stated duration is three hours, but some sessions have finished in about one to two hours. That may happen when the group is small, the chosen design is simple, or the silversmith helps move the process along.
You should still plan around the full three hours. A short session can be convenient, but a longer one gives you time to consider designs, work carefully, and enjoy the process instead of rushing. If you are arranging this between a beach visit and a dinner reservation, leave a buffer.
The experience is usually best when you are interested in the work itself. If you only want a quick souvenir, a jewelry shop is faster. Here, the point is the making: heating the silver, feeling the resistance of the metal, smoothing the edges, and watching the shine appear at the end.
Wear comfortable clothing suitable for craft work. No special experience is required, but you should be ready to take part rather than sit back and watch. Children under six and people over 70 are not suitable for this activity.
Who will enjoy this Bali craft class?
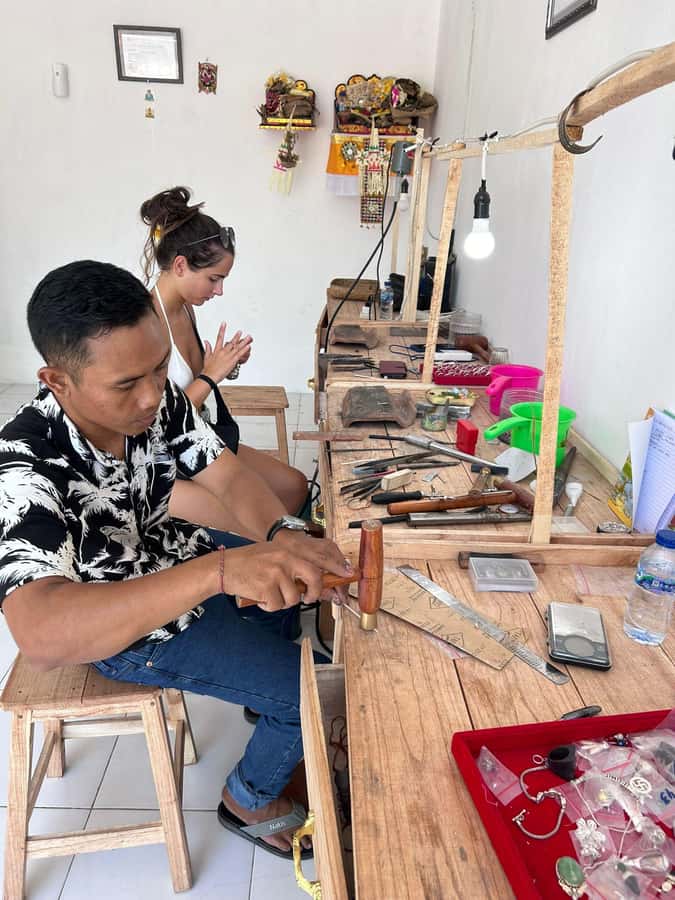
This is a strong choice for couples. Matching rings give you a shared reminder of Bali, and the work creates a natural activity for a quieter afternoon or evening. It also suits friends who want something more personal than another shopping trip.
Solo participants can enjoy it just as much, especially in a small group. With fewer people at the bench, you may receive more direct help and have more freedom to ask questions. The class also works for families with children over six, provided the child can follow instructions and take part safely.
You do not need to be especially interested in jewelry. The process itself has enough variety to keep you involved, and shaping metal gives the class a clear sense of progress. At the end, even someone who rarely wears jewelry may leave with a piece that has personal meaning.
This may not suit you if you dislike hands-on work, have a strict schedule, or want a large and elaborate piece. The included silver is limited, and extra metal, stones, or another design cost more.
Practical booking advice for Kuta and Uluwatu
Choose the location based on your daily route, not just the name that looks familiar. The Kuta and Uluwatu workshops are separate, and selecting the wrong one could turn a simple activity into a long cross-island journey.
Check the meeting point carefully because it varies by option. If you attend at night, give yourself extra time to find the shop. One participant had difficulty locating the Kuta workshop after dark but was able to get help by phone and text.
The class is wheelchair accessible, and small-group availability is offered. Starting times vary, so check the available schedule before building the rest of your day around it.
Free cancellation is available up to 24 hours before the activity for a full refund. You can also reserve now and pay later, which is useful when your Bali plans are still shifting.
Bring a design reference if you have one, but keep it simple enough to complete in one session. Most importantly, decide your silver budget before you begin and carry cash for any extra weight.
Should you book the Bali silver class?
I would book this if you want a souvenir with a story attached to it. The class combines a real craft process, personal choice, and a finished item for $41, with materials and basic refreshments included. The patient instruction is especially useful for first-timers.
Choose Kuta for convenience around the southern beach districts, or Uluwatu if your day already includes GWK, Pandawa, Melasti, or the Kecak performance. Go in expecting one manageable design, not a full jewelry collection, and you should find the three hours well spent.
FAQ
How much does the silver jewelry class cost?
The class costs $41 per person. The price includes Indonesian silver, instruction, tools, snacks, mineral water, Wi-Fi, and one finished piece to take home.
How much silver is included?
Each participant receives approximately 2 to 5 grams of Indonesian silver. If the finished jewelry weighs more than 5 grams, the additional charge is IDR 100,000 per gram.
Can I make more than one jewelry design?
Each person can make one jewelry design. Making an additional design costs IDR 300,000 per design.
Can I bring my own jewelry design?
Yes. You can bring your own design, but you should discuss whether it can be completed within the three-hour session with the silversmith beforehand.
Do I need previous jewelry-making experience?
No. The class is suitable for all skill levels, and the silversmith provides personalized instruction throughout the process.
Which workshop location should I choose?
The Kuta workshop is near Kuta Beach and Legian Beach. The Uluwatu workshop is near Garuda Wisnu Kencana, the Uluwatu Kecak Dance area, Pandawa Beach, and Melasti Beach.
What languages do the instructors speak?
Instruction is available in English, Indonesian, and Malay.
Can I cancel or pay later?
You can cancel up to 24 hours in advance for a full refund. Reserve-now, pay-later booking is also available.
More Workshops in Uluwatu
- Uluwatu: Private Surf Lesson with Surf Photos & Videos
★ 4.8 · 75 reviews - Best Surf Lesson around Uluwatu
★ 5.0 · 64 reviews - Surf Lessons in Uluwatu for All Levels
★ 5.0 · 6 reviews - Ubud: Balinese Cooking Class at an Organic Farm
★ 5.0 · 1,786 reviews
Recently added around Uluwatu
- Melasti Kecak Fire Dance, Sunset & Ocean Cliff Views in Bali★ 4.7 · 3 reviews
- Bali: Uluwatu Beaches Tour with Padang Padang and Suluban★ 4.3 · 4 reviews
- Uluwatu, Bali: Charity Run Club – Explore New Running Paths★ 5.0 · 4 reviews
- Uluwatu Bali: Lets Cook 180 Meals for underprivileged Locals★ 5.0 · 5 reviews
- Surf Lessons in Uluwatu for All Levels★ 5.0 · 6 reviews
- Bali: South Bali Private Tour with Driver★ 4.6 · 6 reviews
- Uluwatu: Temple Sunset, Kecak Dance & Jimbaran Dinner★ 3.7 · 9 reviews
- Rock Mud Fun ATV Quadbike Uluwatu★ 4.8 · 10 reviews
Silver Jewellery Workshops, compared.
Canggu Jewelry Making Class with Creative Studio Vibes
Read our review →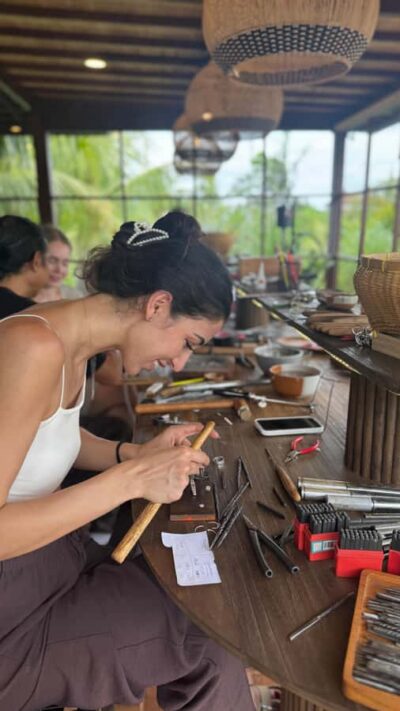
Seminyak Jewelry Making Class with Gold Plating Option
Read our review →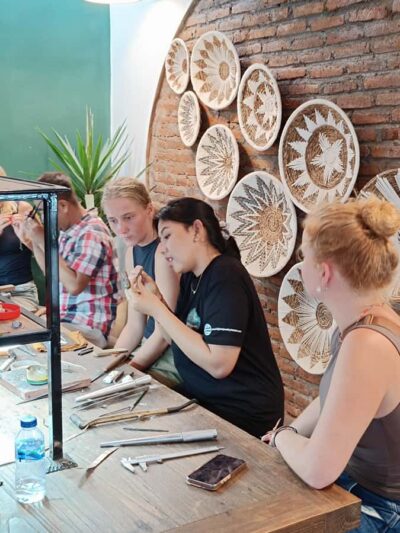
Uluwatu Silver Jewelry Making Workshop with Creation
Read our review →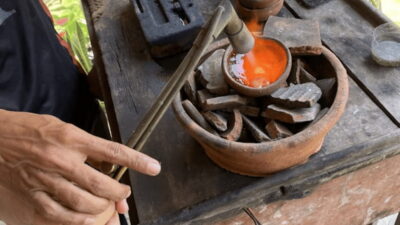
Sidemen Jewelry Silver Class with 7 Gram of Silver
Read our review →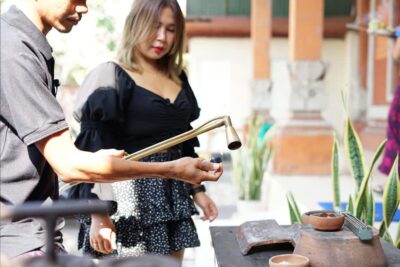
Celuk Bali Silver Class – Make Your Own Silver Jewelry
Read our review →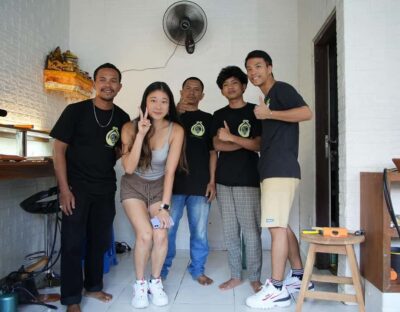
Silver Class in Kuta With Optional Tour And Activities
Read our review →
Browse the lists this tour appears in